How to Install a Retrofit Smart Lock:
Compatibility & Troubleshooting Guide
No drill. No locksmith. No landlord permission. This guide walks you through everything — from checking if your door qualifies to fixing the most common smart lock issues.
Install Time
10–15 min
Tools Needed
Just a screwdriver
Drilling
None required
Skill Level
Beginner
Affiliate Disclosure: This site contains affiliate links. As an Amazon Associate, we earn from qualifying purchases. This supports our free testing and reviews at no extra cost to you. We only recommend products our research genuinely supports. Read our full affiliate disclosure.
Will It Fit? The 3-Check Compatibility Test
Run through these checks before buying any retrofit smart lock.
Is it a single-cylinder deadbolt?
Look at the interior of your door. You should see a thumb turn (the oval piece you twist by hand) separate from any door handle or knob.
Is the thumbturn separate from the handle?
The deadbolt thumb turn must be a standalone piece above or below your main door handle — not integrated into a single unit.
Is there at least 1 inch of clearance from the door frame?
When your deadbolt is fully extended (locked), the bolt should protrude at least 1 inch. Use a ruler to measure the throw from the door edge.
Check each box above to confirm your door qualifies.
Still Shopping?
Not sure which retrofit lock to buy yet?
See our research-based ranked picks in The Top 7 Retrofit Smart Locks of 2026 — every lock on that list is confirmed compatible with this installation guide.
Step-by-Step Installation Guide
The best smart lock for apartments with existing deadbolts — installed in under 15 minutes, no drilling required.
Secure the Exterior Deadbolt with Tape
Before touching the interior, go to the outside of your door and apply painter's tape firmly over and around the deadbolt keyhole. This prevents the exterior cylinder from falling out when you remove the thumb turn. Don't skip this step — dropping the cylinder can damage your door or lock.
Note: Use painter's tape only — never duct tape. You need a clean removal after installation.
Tools for this step
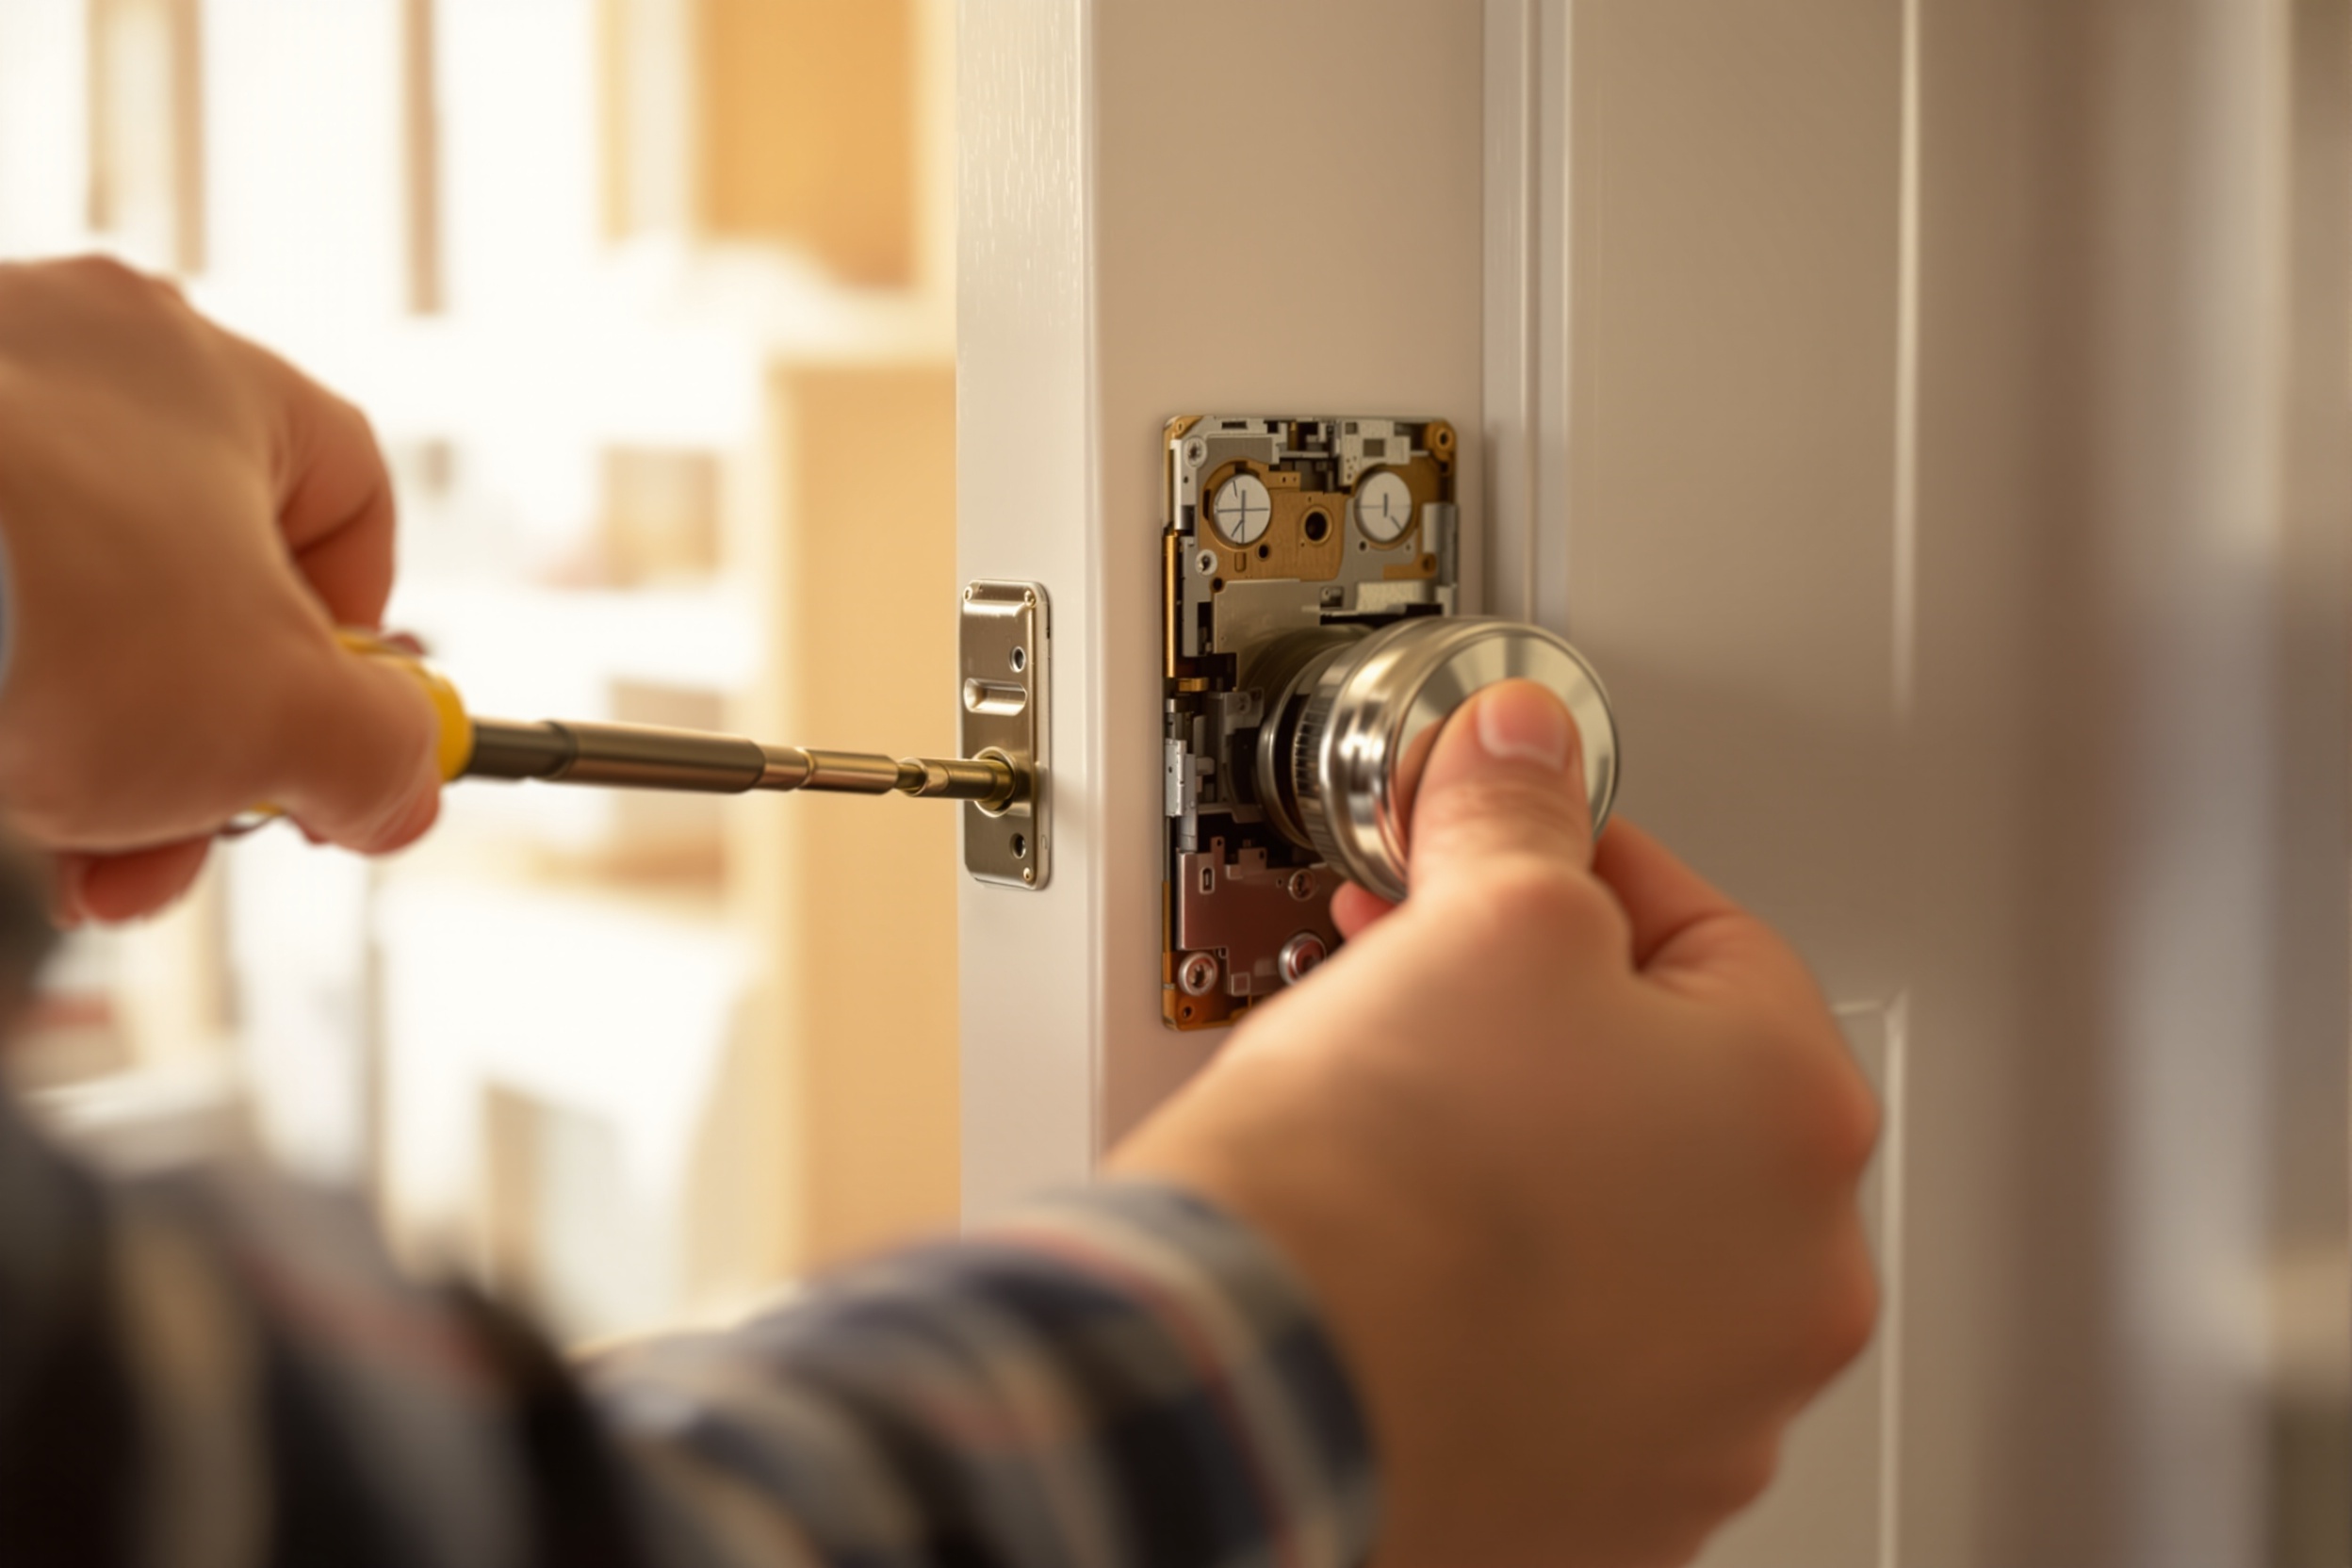
Remove the Interior Thumbturn
With the exterior secured, locate the two screws on the interior escutcheon plate (the decorative plate around the thumbturn). Use a Phillips or flathead screwdriver to remove them — most retrofit locks require a standard #2 Phillips. Gently pull the thumb turn assembly away from the door. Set the screws somewhere safe — you'll reuse them.
Note: Keep the existing screws. Most retrofit locks use the same screw holes, and your original screws are often the correct length.
Tools for this step
Choose the Correct Adapter for Your Lock Brand
Every retrofit smart lock ships with multiple adapters designed for the three major deadbolt tailpiece shapes: Kwikset (rectangular), Schlage (round), and Baldwin/Weiser (oval). The tailpiece is the metal rod that connects the thumb turn to the locking mechanism inside the door. Match your existing tailpiece shape to the correct adapter before mounting.
Note: If your brand is not Kwikset, Schlage, or Baldwin, measure the tailpiece width and length. Most brands are 0.22" × 0.90" — which fits the universal Kwikset adapter.
Tools for this step
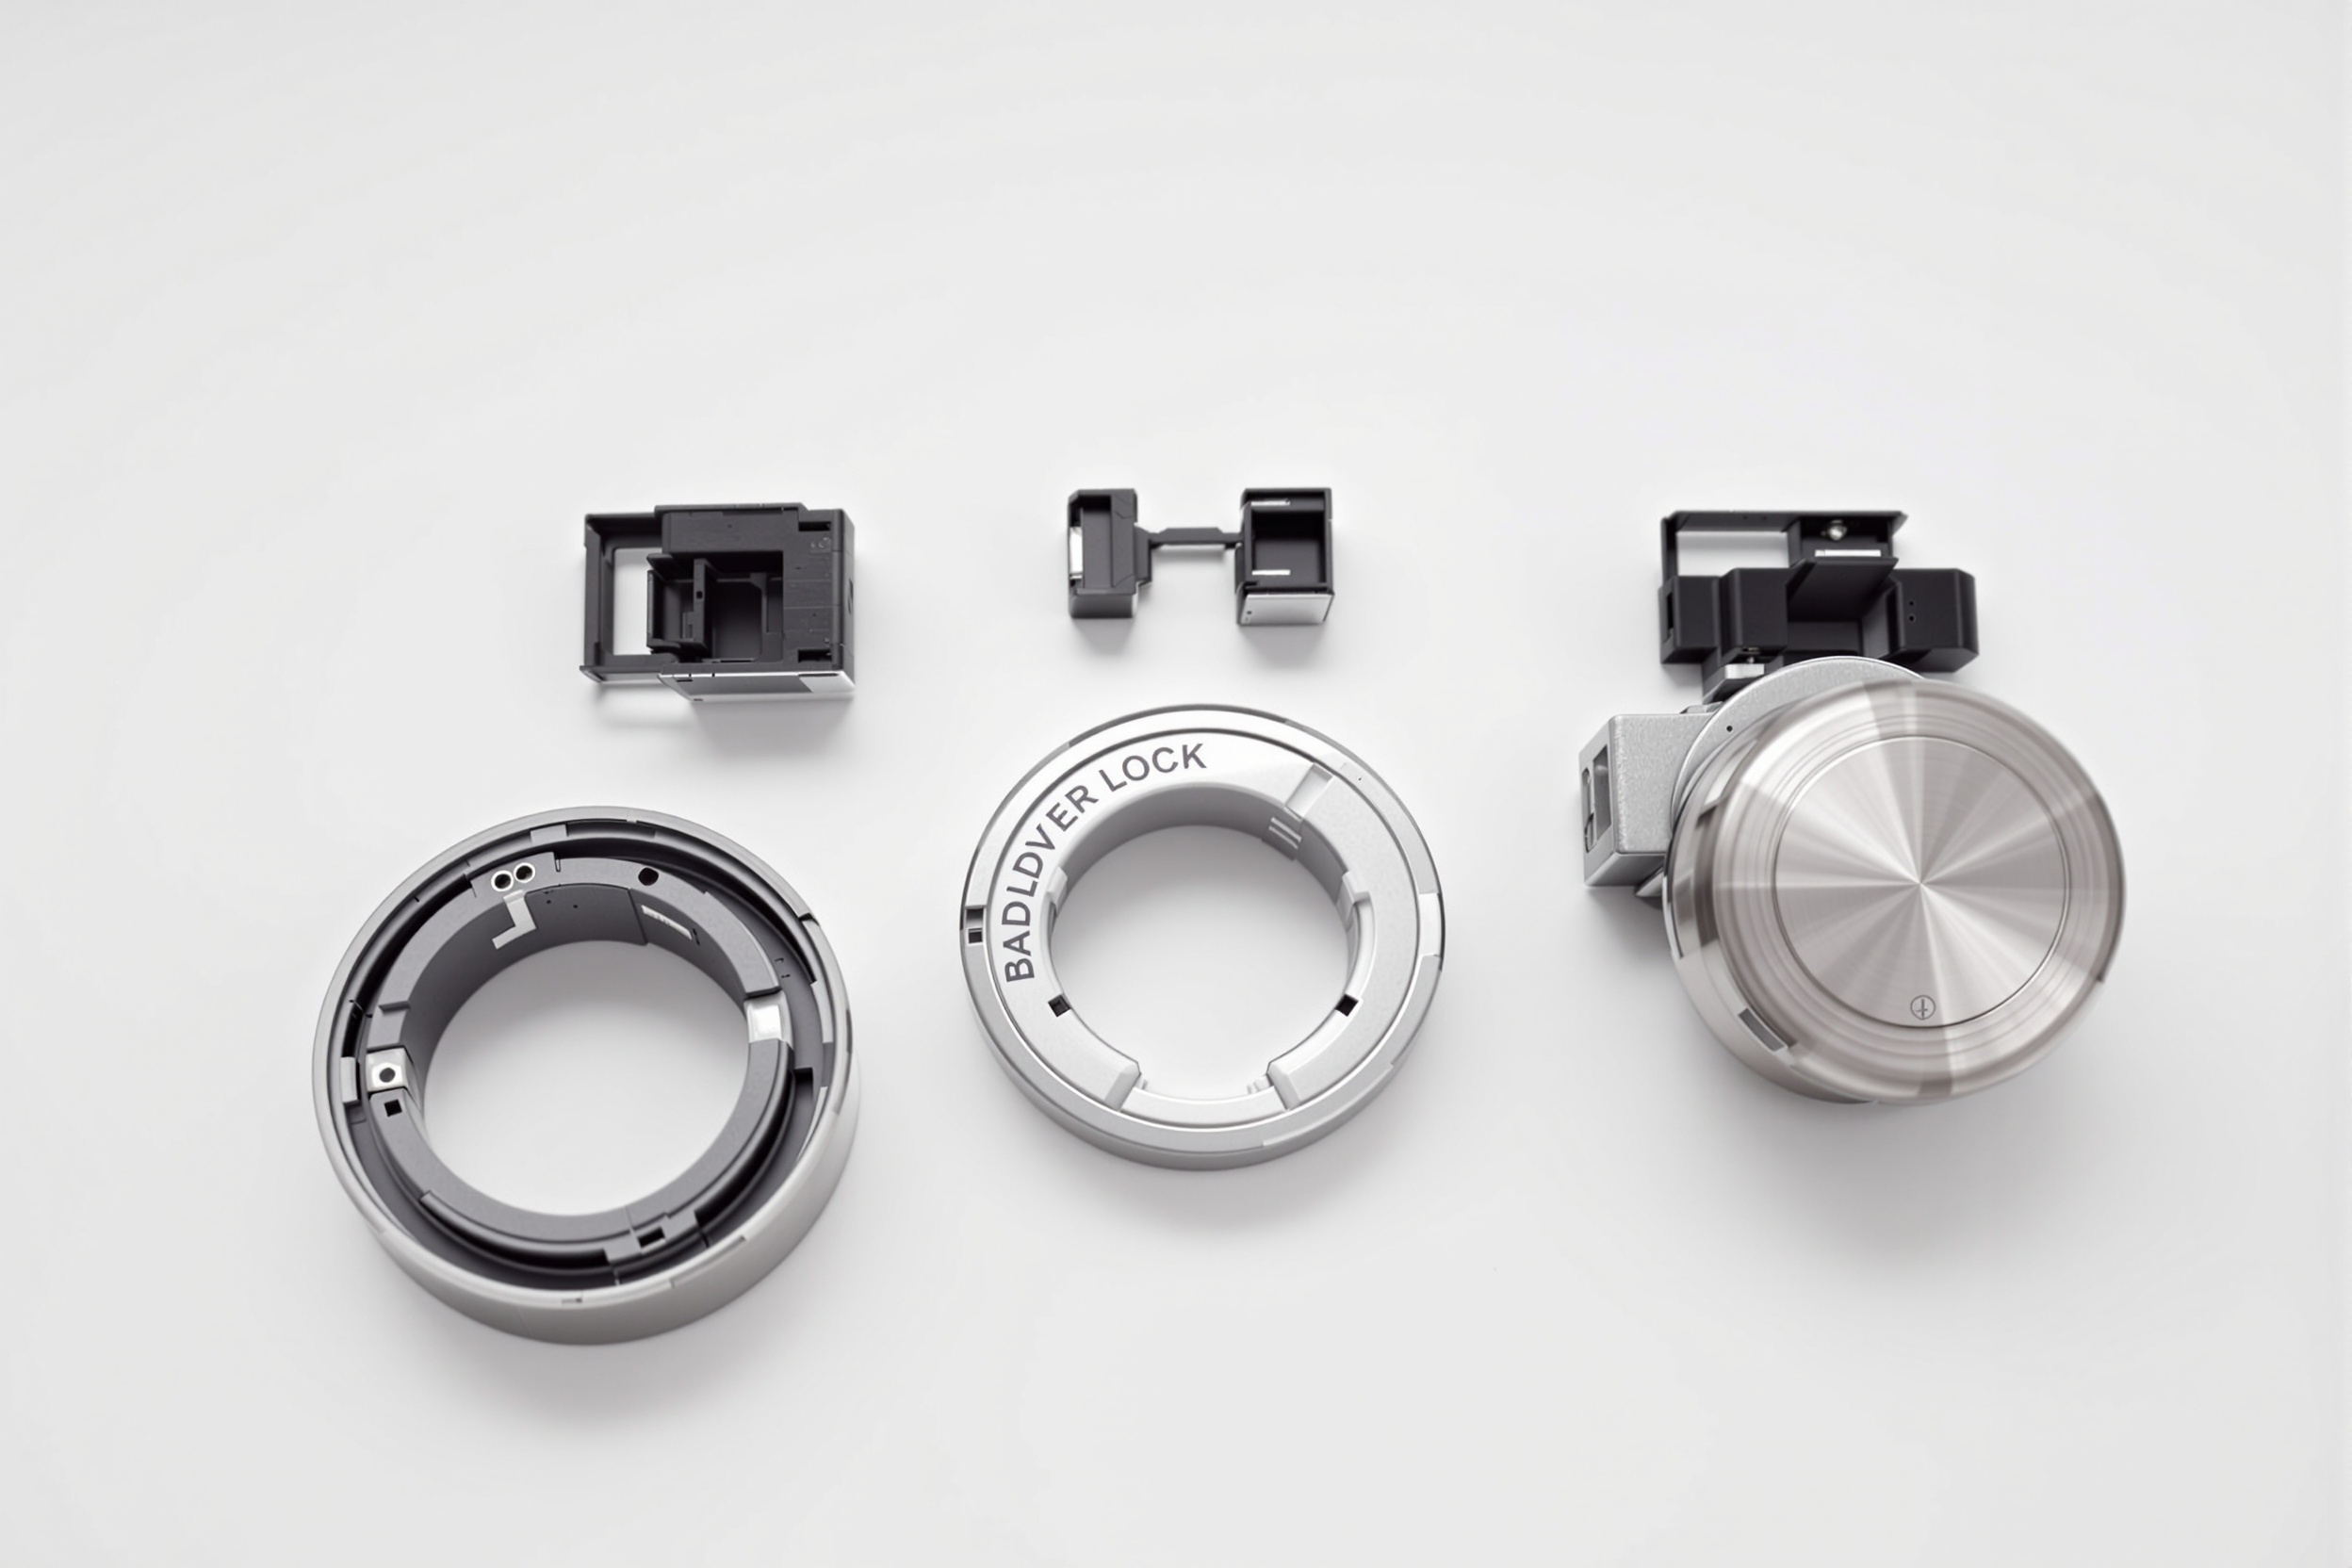
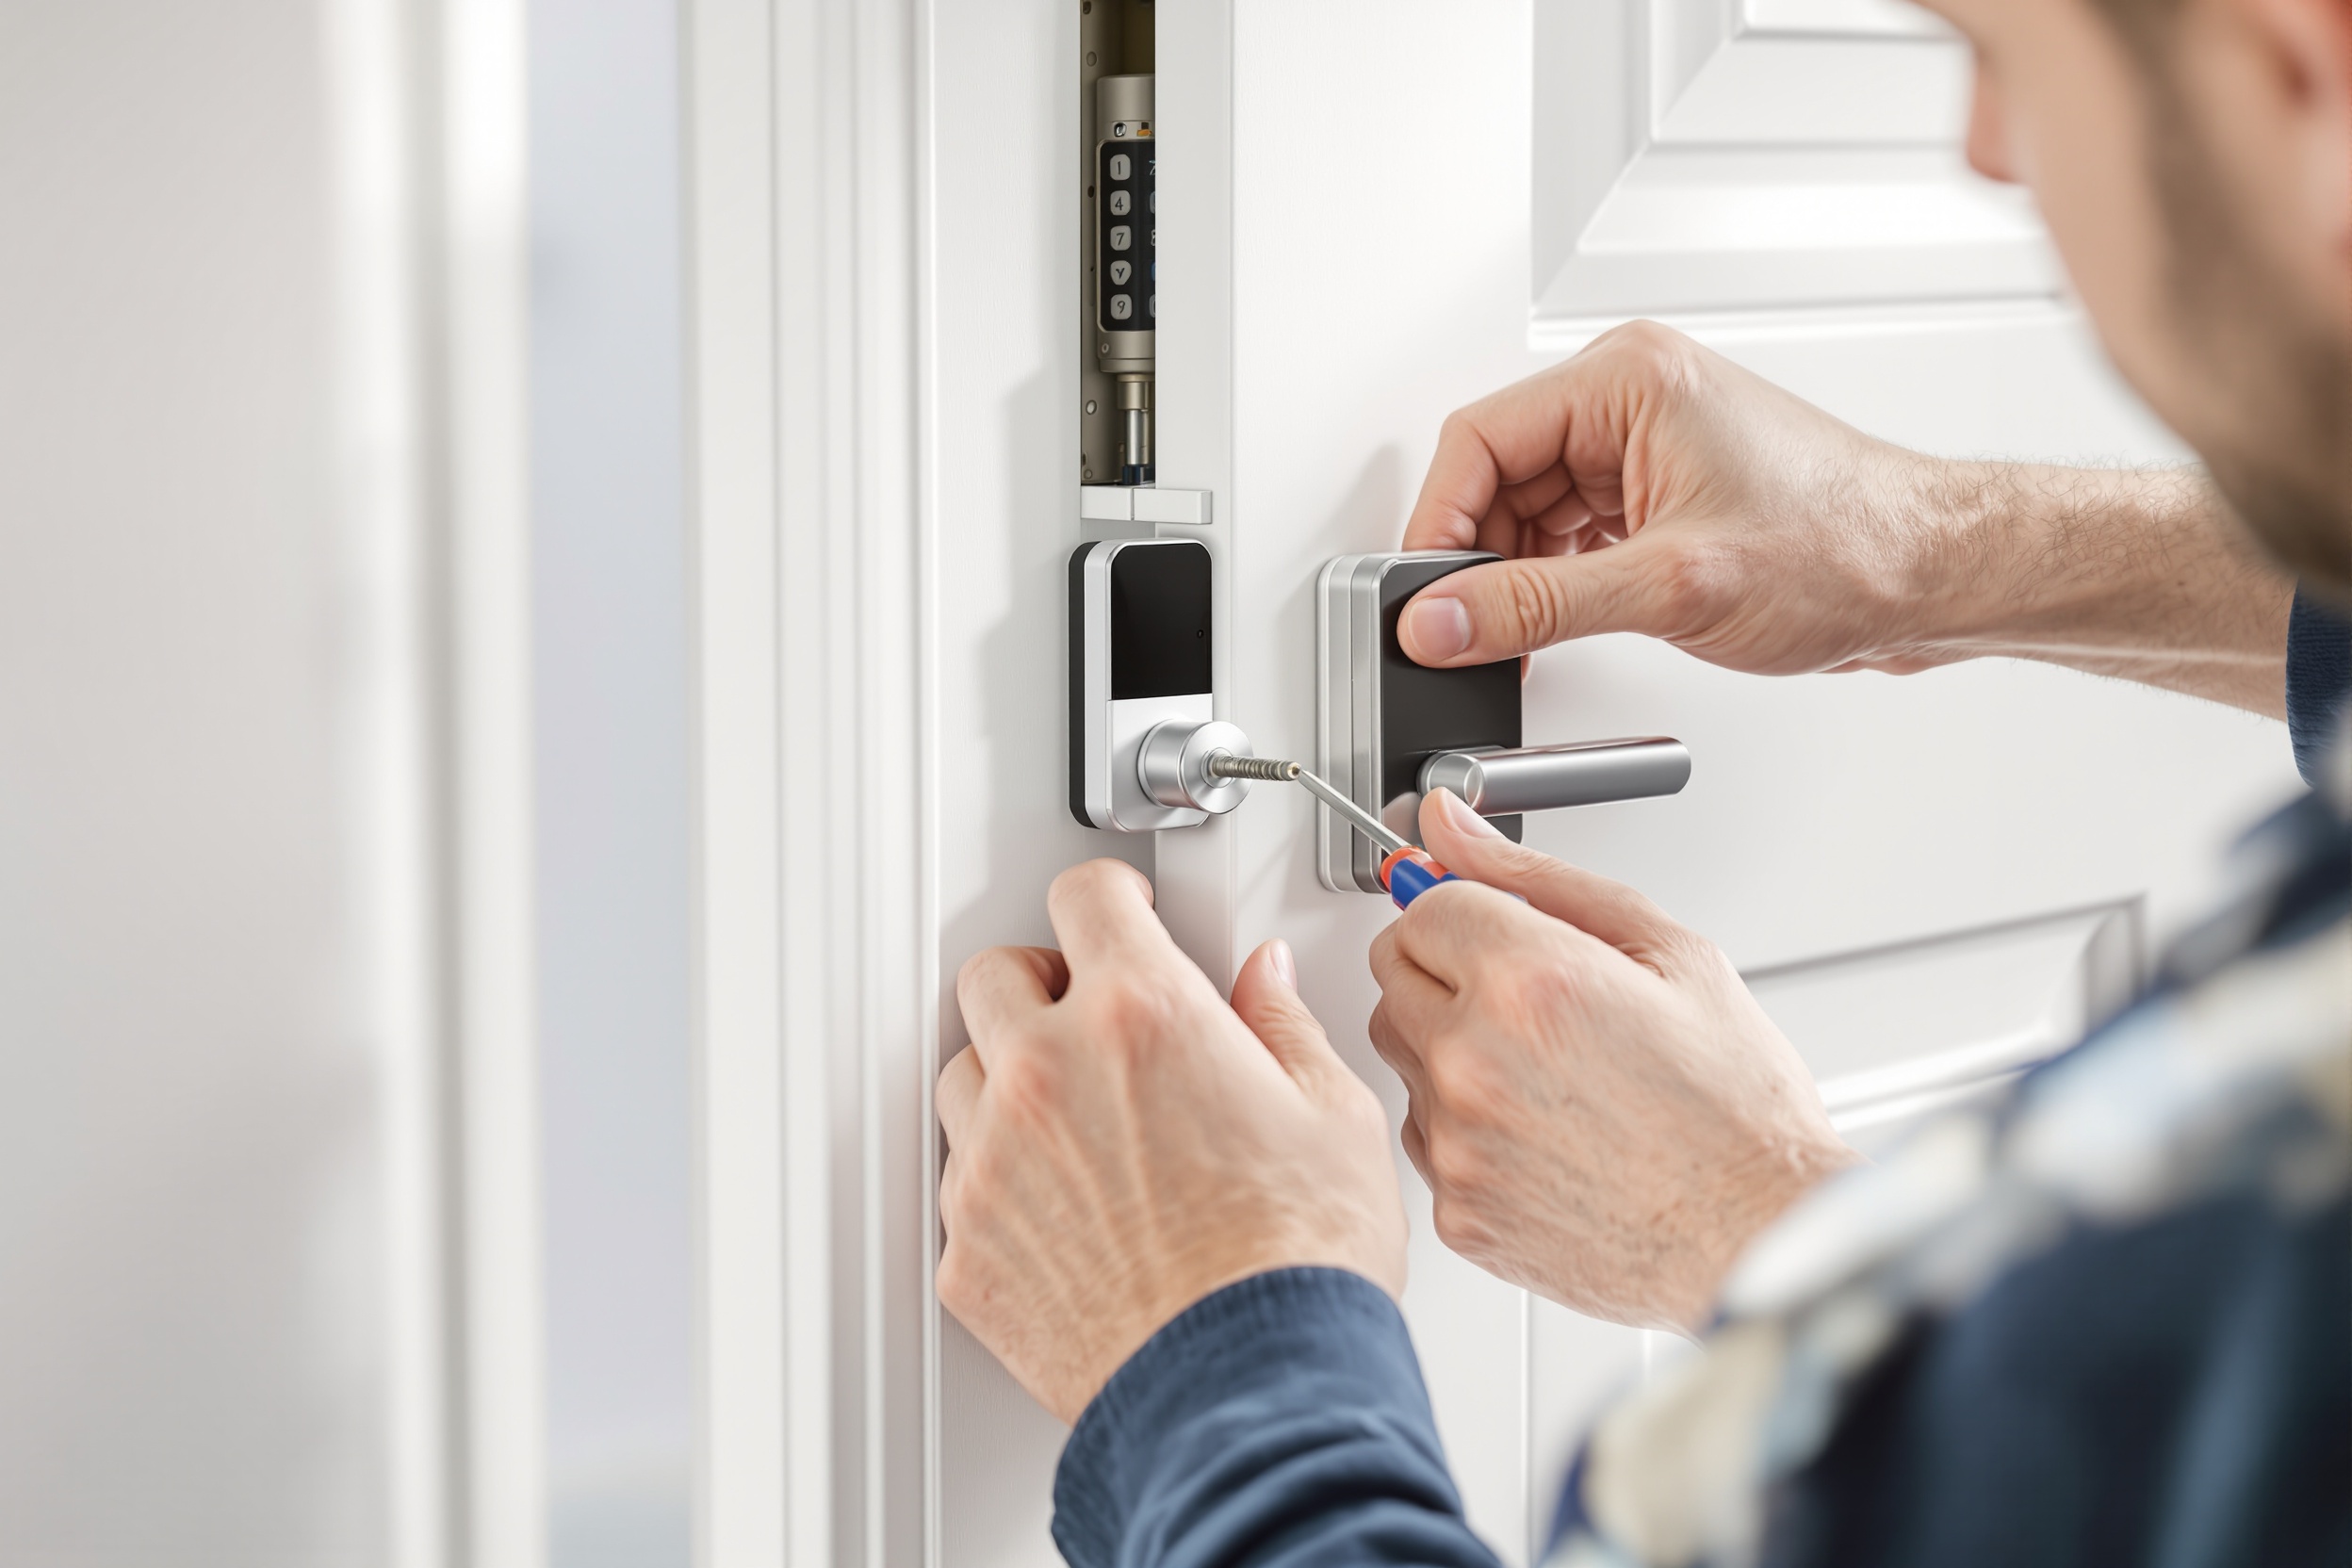
Mount the Mounting Plate & Smart Motor
Slide the chosen adapter onto the tailpiece so it clicks into place. Then align the mounting plate over the screw holes left by the original thumb turn — most locks use the same hole pattern. Hand-tighten the screws first, then use your screwdriver to snug them up. Avoid overtightening, which can crack the mounting plate. Snap the smart motor unit onto the mounting plate and follow the app setup to complete pairing.
Note: Test manually before app setup — turn the adapter by hand to confirm the deadbolt extends and retracts smoothly. If it's stiff, loosen the mounting screws slightly.
Tools for this step
Fix the Most Common Smart Lock Problems
Targeting the real questions — from Matter/Thread pairing failures to cold-weather motor jams.
Best Smart Lock for Apartments with Existing Deadbolts
Every lock covered in this guide works with standard apartment single-cylinder deadbolts — the most common door setup in North America. The best retrofit smart lock for renters depends on your specific ecosystem and budget, but our top picks for apartment use are the August Wi-Fi 4th Gen (easiest setup), the Level Lock+ (most invisible), and the Wyze Lock (best budget). All three pass the 3-check compatibility test above with any standard deadbolt.
From the Same Category
Best Smart Locks for Renters 2026
Renter-safe picks and a landlord permission template.
Read →Best OfThe 7 Best Retrofit Smart Locks of 2026
Ranked by ease of install, among 7 other scored categories.
Read →ApartmentsBest Smart Locks for Apartments 2026
Intercom integration, HOA rules, and concrete wall Wi-Fi tips.
Read →Last verified by the Editorial Team
Content accuracy, product specs, and pricing reviewed on March 25, 2026. Our methodology cross-references manufacturer specifications, certified lab data, and verified buyer reports before every update.
Steps verified with August app v5.2, Aqara Home v4.1, and iOS 18.3 / Android 15. Steps may vary slightly by specific lock model — always refer to your included instruction sheet.